Step-by-Step Guide: 10 Tools and 7 Steps for You to Install a Smart Breaker

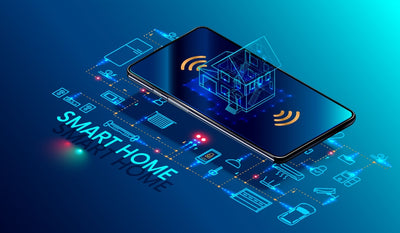
Smart breakers, which are designed to provide advanced control and monitoring capabilities for electrical systems, are becoming increasingly popular among homeowners. Some estimates suggest that the global smart breaker market is growing at a rapid pace and could reach a value of several billion dollars within the next few years. This suggests that more and more people are beginning to embrace smart breaker technology as a way to improve the safety, efficiency, and convenience of their home electrical systems. What should you do if you'd like to install a smart breaker? Read this article to find the answer.
What Tools Do You Need to Install a Smart Breaker?
Installing a smart breaker is a great way to enhance your home's energy efficiency and keep your electrical system up to date with modern technology. However, before embarking on this project, it's important to make sure you have the right tools on hand to ensure a successful installation. Here are some of the essential tools you'll need to install a smart breaker:
- Voltage Detector: A voltage detector is an essential tool for any electrical work. It is used to detect the presence of live electricity in wires or circuits, making it a crucial tool for ensuring your safety during the installation process.
- Screwdriver Set: You'll need a set of screwdrivers to remove the existing breaker and install the new one. It's important to choose the right size screwdriver for the job to avoid stripping the screws.
- Wire Strippers: Wire strippers are used to remove the insulation from the wires that will be connected to the new breaker. This allows you to properly secure the wires to the new breaker.
- Wire Cutters: You'll need wire cutters to trim any excess wire once you've connected it to the new breaker.
- Pliers: Pliers can be used to bend wires into the correct position and secure them to the new breaker.
- Smart Breaker: Of course, you'll need a smart breaker to install! Be sure to choose a breaker that is compatible with your home's electrical system and meets your energy-saving goals.
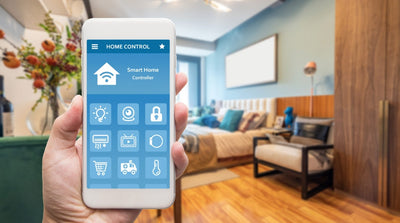
- Smartphone or Tablet: Once your smart breaker is installed, you'll need a smartphone or tablet to connect to it and set it up using the manufacturer's app.
- Work Gloves: Work gloves can protect your hands from sharp edges, cuts, and abrasions during the installation process.
- Safety Glasses: Safety glasses protect your eyes from flying debris, dust, and other hazards that may occur during the installation process.
- Circuit Breaker Lockout Device: Finally, a circuit breaker lockout device can be used to prevent accidental activation of the breaker while you're working on it. This device is especially important if other people are in the home while you're working.
What Steps Should You Follow to Install a Smart Breaker?
With the tools on hand, you'll be ready to upgrade your home's electrical system with modern, energy-efficient technology. Installing a smart breaker can help you to monitor and control your home's electricity usage more effectively. With a few basic tools and some careful planning, you can install a smart breaker yourself. Here are the steps to follow:
Step 1: Turn off the power supply
Before you begin, turn off the power supply to the circuit you'll be working on. Locate the main electrical panel in your home and switch off the circuit breaker that powers the circuit you'll be working on. It's also a good idea to use a voltage detector to ensure that the power is off before proceeding.
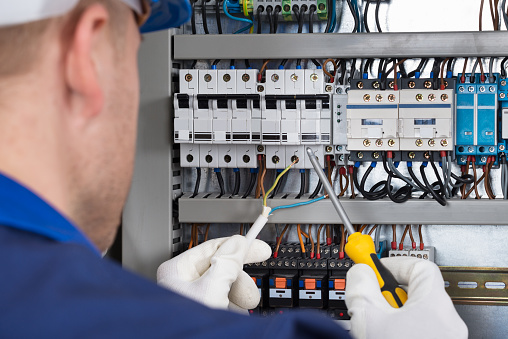
Step 2: Remove the existing breaker
Using a screwdriver, remove the screws that hold the existing breaker in place. Carefully pull the breaker out of its slot and disconnect the wires from the terminals. Be sure to label each wire to make reconnection easier later on.
Step 3: Install the smart breaker
Insert the smart breaker into the slot previously occupied by the old breaker, ensuring that the clips on the breaker line up with the bus bar. Connect the wires to the terminals on the smart breaker, following the manufacturer's instructions. Make sure each wire is securely fastened in place.
Step 4: Turn on the power supply
Once the smart breaker is installed and the wires are securely connected, it's time to turn the power supply back on. Go back to the main electrical panel and switch on the circuit breaker that you switched off earlier. Use a voltage detector to ensure that power is flowing through the circuit.
Step 5: Download and install the smart breaker app
Most smart breakers require an app to control them. Download and install the app on your smartphone or tablet, following the manufacturer's instructions. Connect your device to your home's Wi-Fi network and pair it with the smart breaker.
Step 6: Set up the smart breaker
Once your app and smart breaker are paired, you can begin to set it up. Follow the manufacturer's instructions to program the smart breaker to meet your energy-saving goals. You may also be able to monitor the circuit's usage and set alerts for when usage exceeds a certain threshold.
Step 7: Test the smart breaker
After you've completed the installation and setup, test the smart breaker to ensure that it's working correctly. Turn on some appliances that are connected to the circuit, and check the app to see if the smart breaker is accurately tracking usage. If there are any issues, consult the manufacturer's troubleshooting guide or contact their customer support.
Conclusion
Installing a smart breaker is a relatively straightforward process. With a little preparation and the right tools, you can upgrade your home's electrical system and gain greater control over your energy usage. Remember to always turn off the power supply before beginning any electrical work, and follow the manufacturer's instructions carefully to ensure a safe and successful installation. If you have any questions about installing a smart breaker, AT-ELE is here to help. Please feel free to contact us.